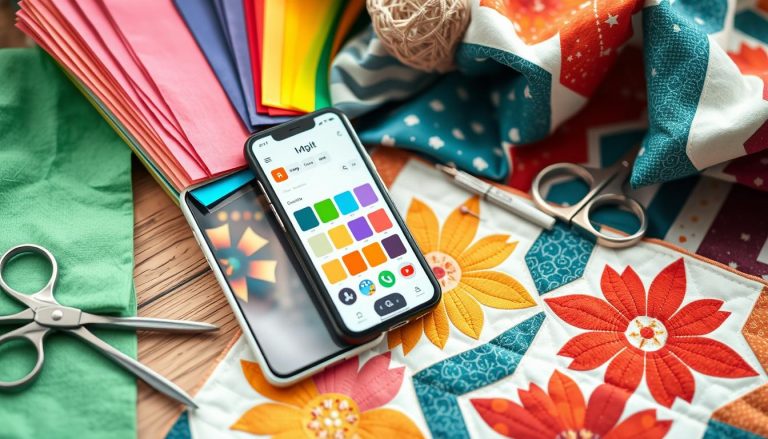
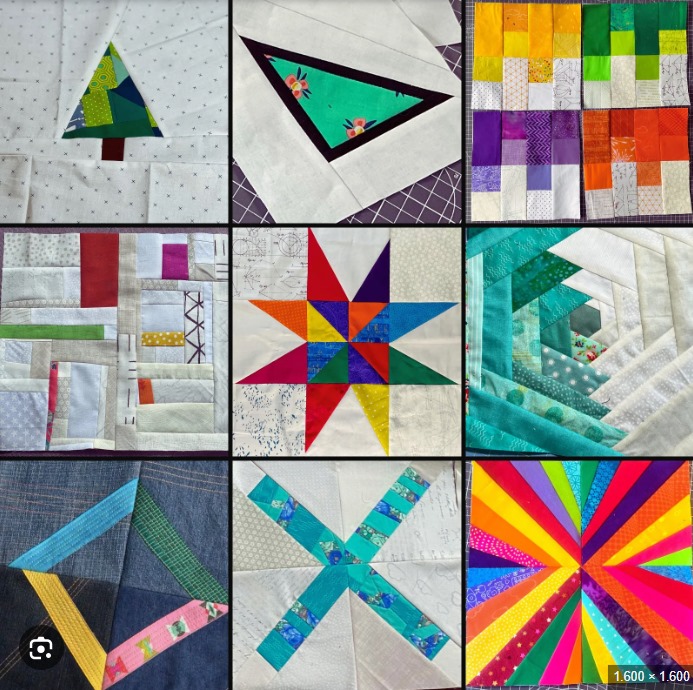
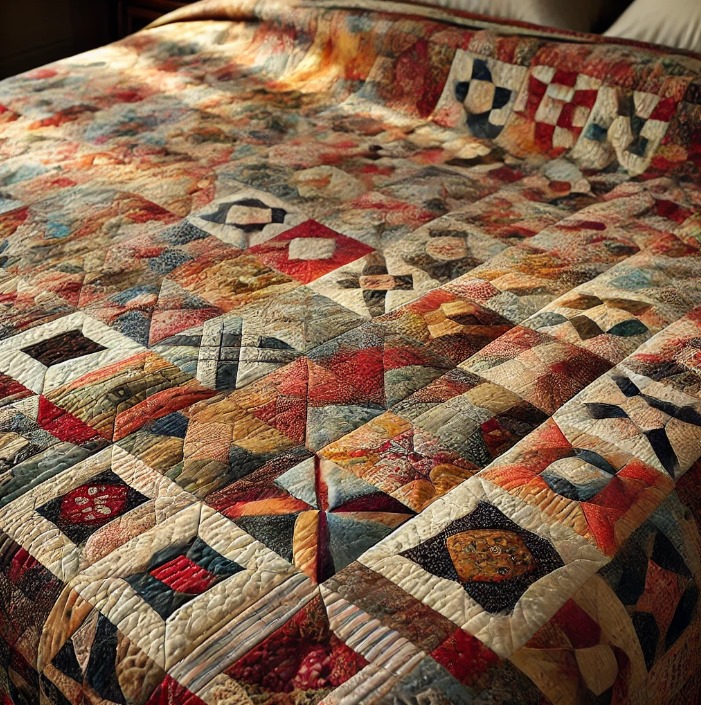
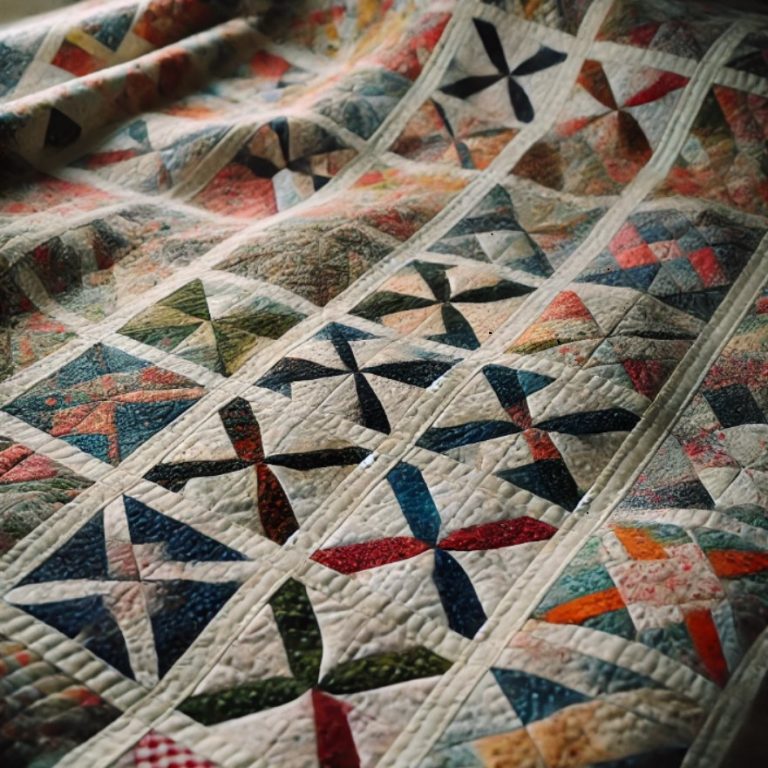
How to Make the "Patchwork Harmony" Quilt

Advertising

Creating a quilt is a rewarding experience that combines creativity, patience, and craftsmanship. The “Patchwork Harmony” quilt is a classic piece that can be personalized with different fabrics and patterns to suit your style. In this article, you will learn how to make your own “Patchwork Harmony” quilt step by step.

Necessary Materials:

  1. Varied fabrics: Choose a combination of fabrics that include floral prints, solids, and checkered patterns in your preferred colors. Make sure all fabrics are 100% cotton for better durability and ease of sewing.
  2. Rotary cutter and cutting ruler: Essential for cutting fabrics precisely.
  3. Cutting mat: To protect your work surface while cutting fabrics.
  4. Sewing machine: Used to piece the quilt blocks together and for quilting.
  5. Cotton thread: For sewing and quilting.
  6. Safety pins: To keep the quilt layers in place during quilting.
  7. Backing fabric: The bottom layer of the quilt, which can be a solid or printed fabric.
  8. Batting: The filling between the top and bottom layers of the quilt.
  9. Sewing scissors: To cut threads and make small adjustments.
  10. Iron and ironing board: To press seams and ensure everything is flat and even.


Advertising

Step-by-Step Instructions:

1. Choosing and Cutting the Fabrics

2. Assembling the Blocks


3. Assembling the Quilt Top
4. Layering the Quilt
5. Quilting
6. Finishing with Binding
7. Final Touches

Additional Tips:

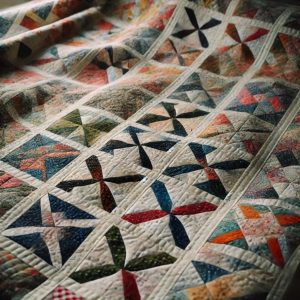
Creating the “Patchwork Harmony” quilt is a project that not only results in a beautiful decorative piece but also provides great personal satisfaction as you watch each piece of fabric transform into a harmonious whole. Whether to warm up cold nights or to give as a special gift, this quilt will undoubtedly be a handcrafted masterpiece that will last for many years.

Advertising